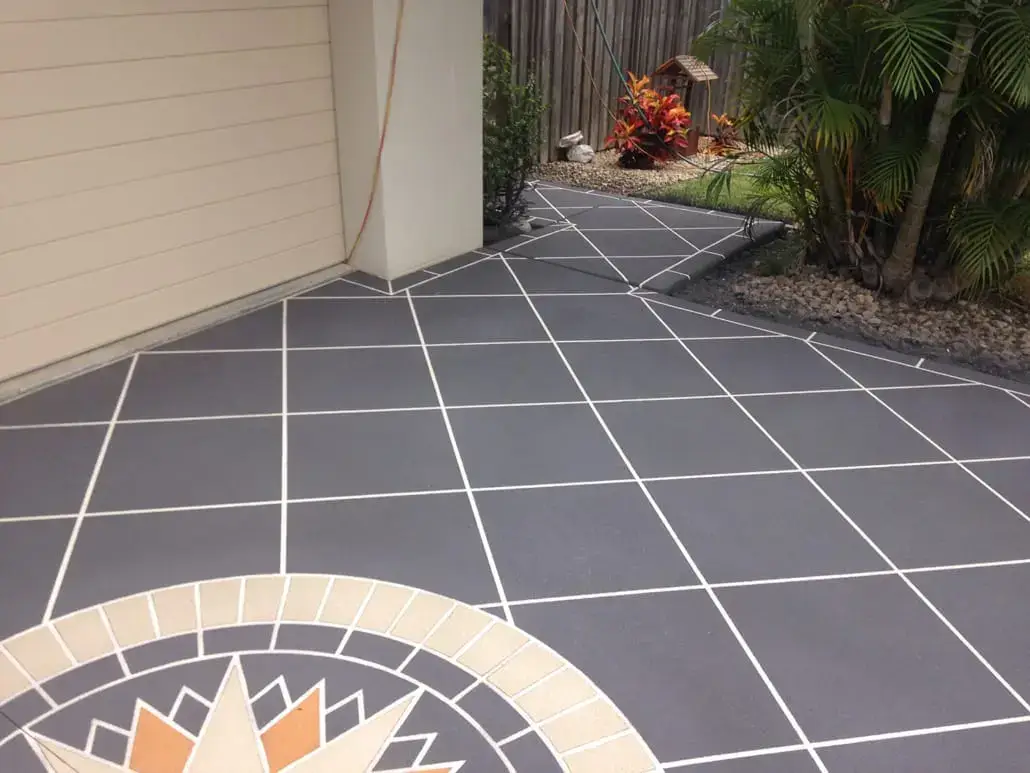
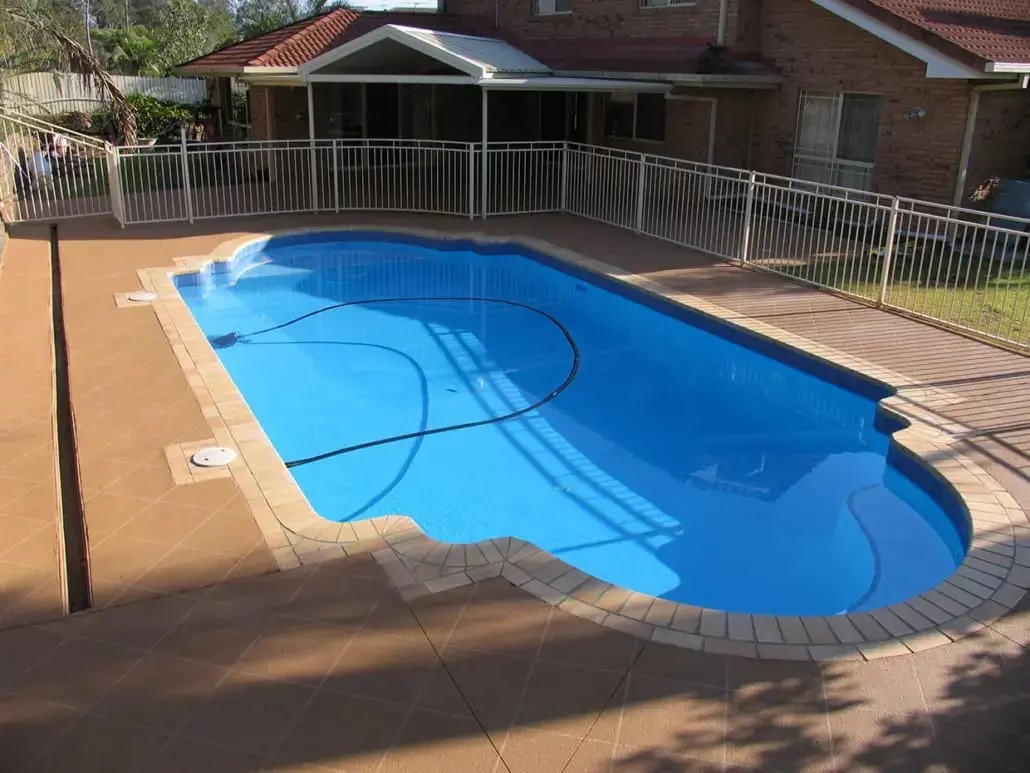
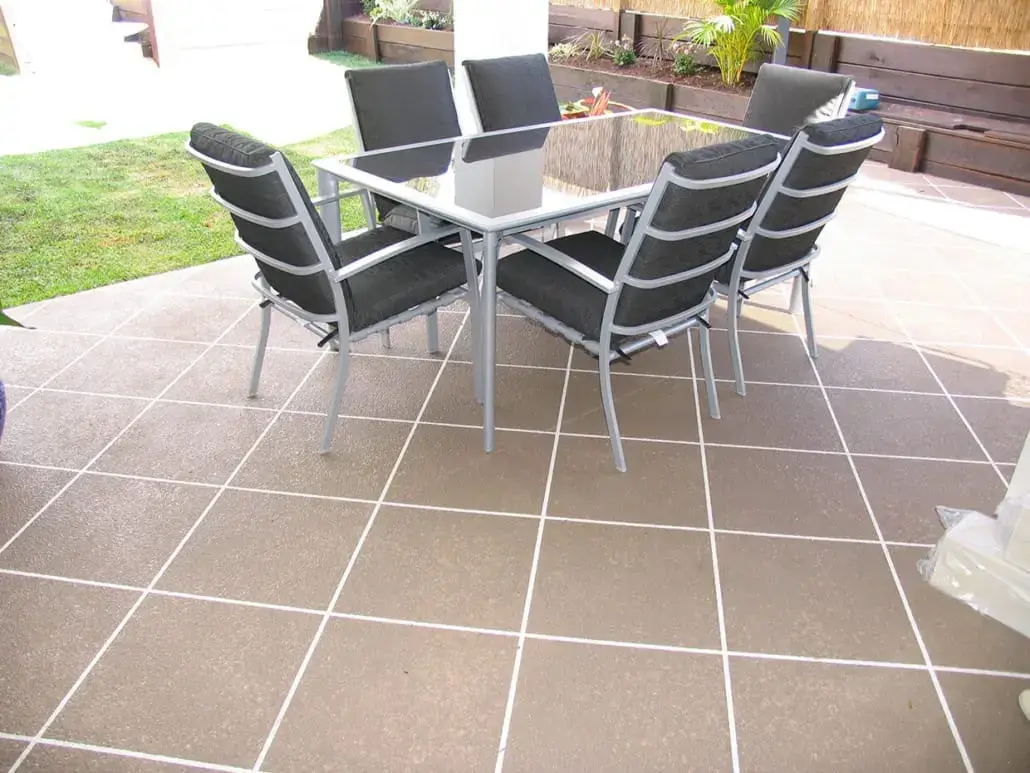
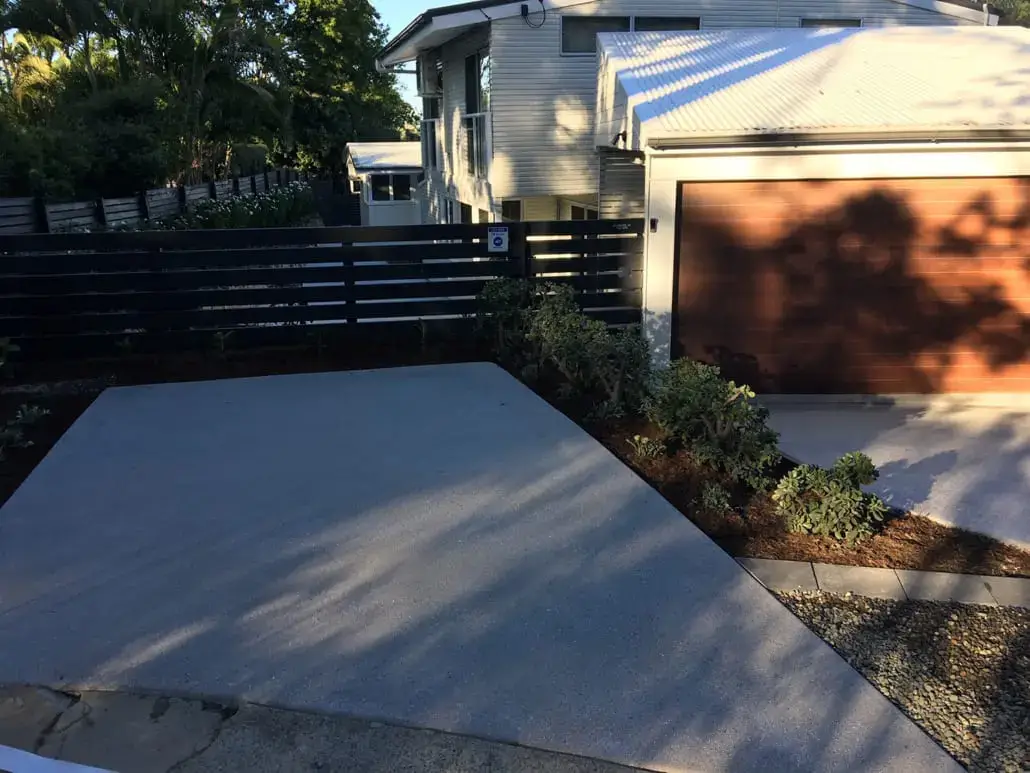
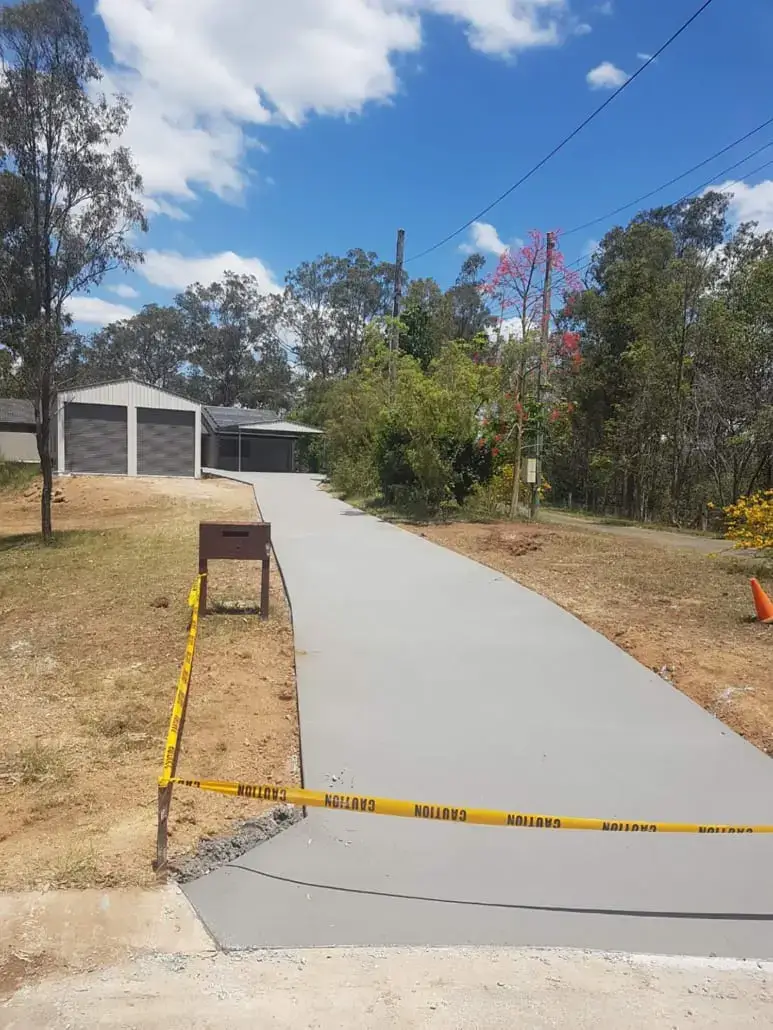
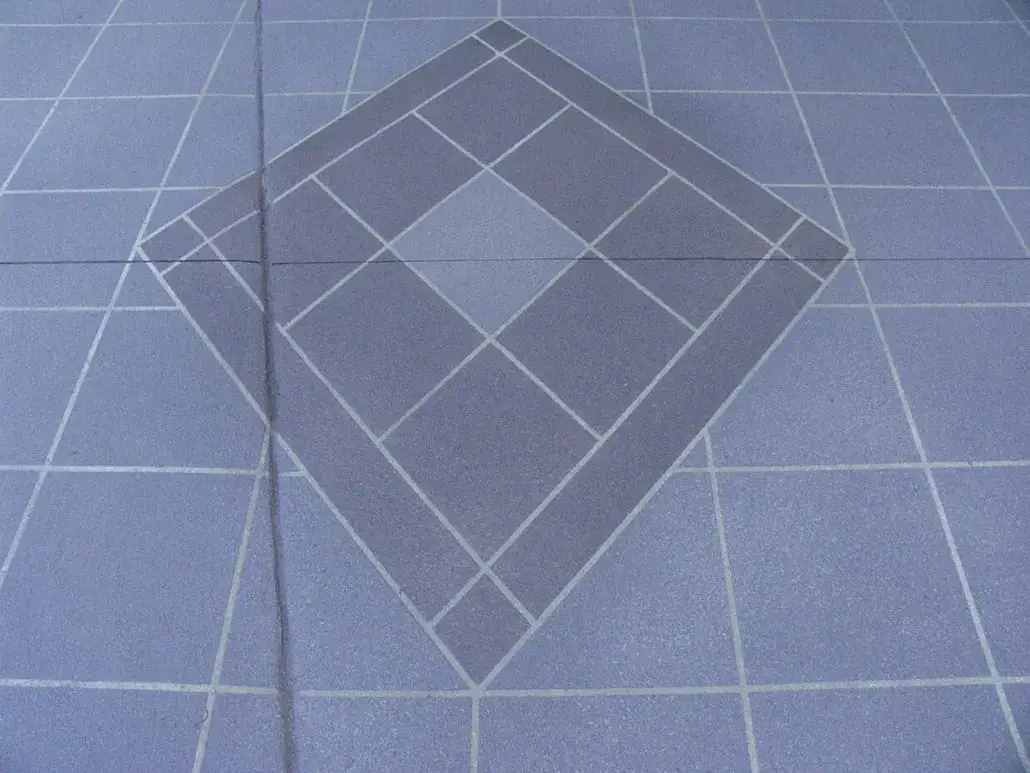
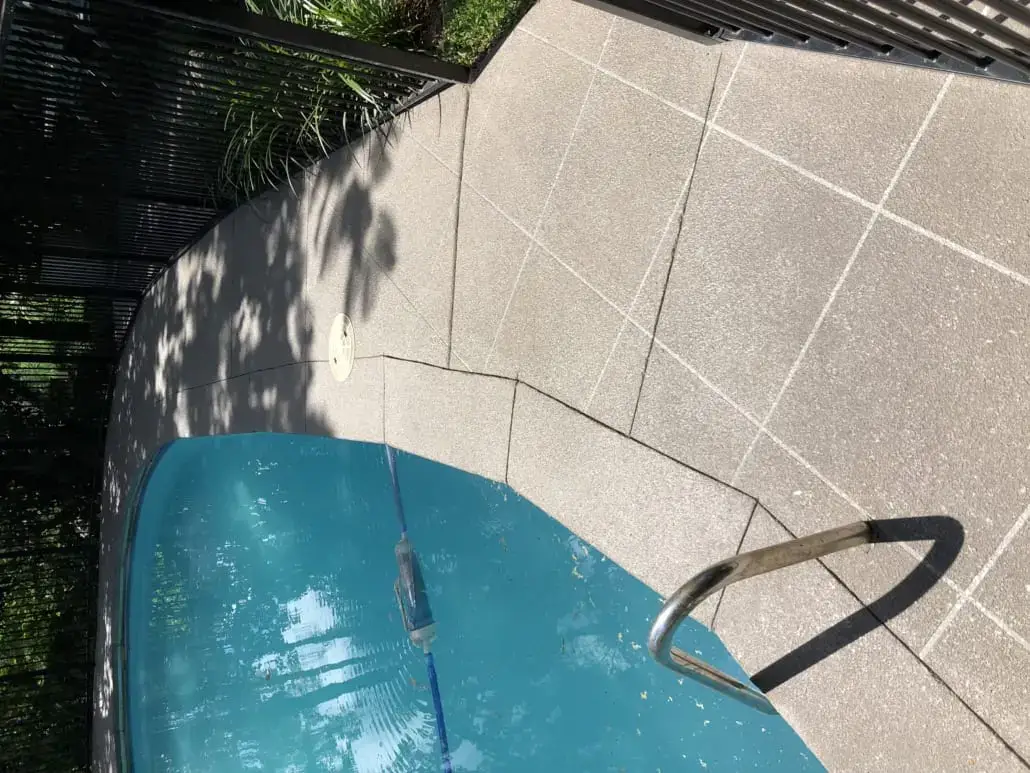
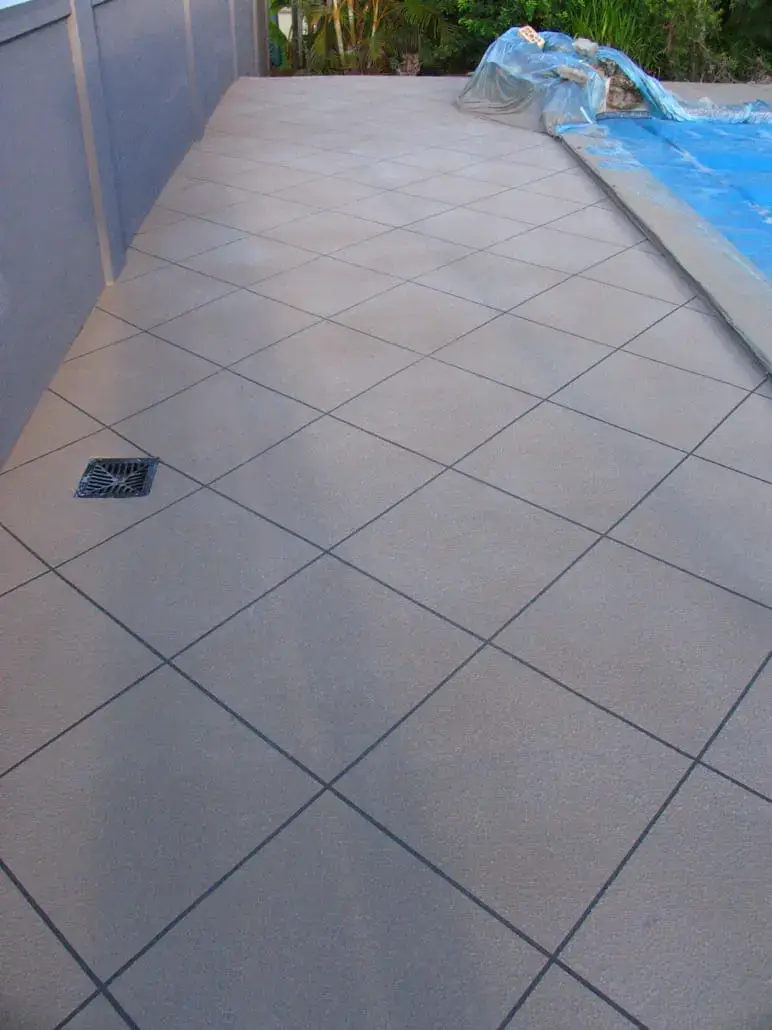
Thirteen jobs we prepared, laid and sealed ourselves across South East Queensland — driveways, pool surrounds, patios, paths, shed slabs and commercial hardstand — photographed after the sealer went down, with the finish named on each so you can follow it to its specification. No stock photography is used anywhere on this site.
What to look at in a resurfacing photo
Most decorative concrete photography is shot to flatter the pattern. The things that actually tell you whether a job was done properly are less obvious, and they are worth looking for in anyone's gallery — including ours.
Look at the edges first. A well-laid overlay finishes cleanly against the garage threshold, the coping, the kerb and the garden edge, with no feathered lip and no coating running up a wall. Then look at the joint lines: on stencil work they should be continuous and square to the slab, not drifting where the crew moved along. On cut patterns, the cuts should line up with the control joints rather than crossing them at random.
Then look for what is missing. No hairline crack telegraphing through the new surface. No patchy sheen where the sealer went on unevenly. No colour change halfway across a driveway where one batch ran out and another was mixed differently.
Recent work
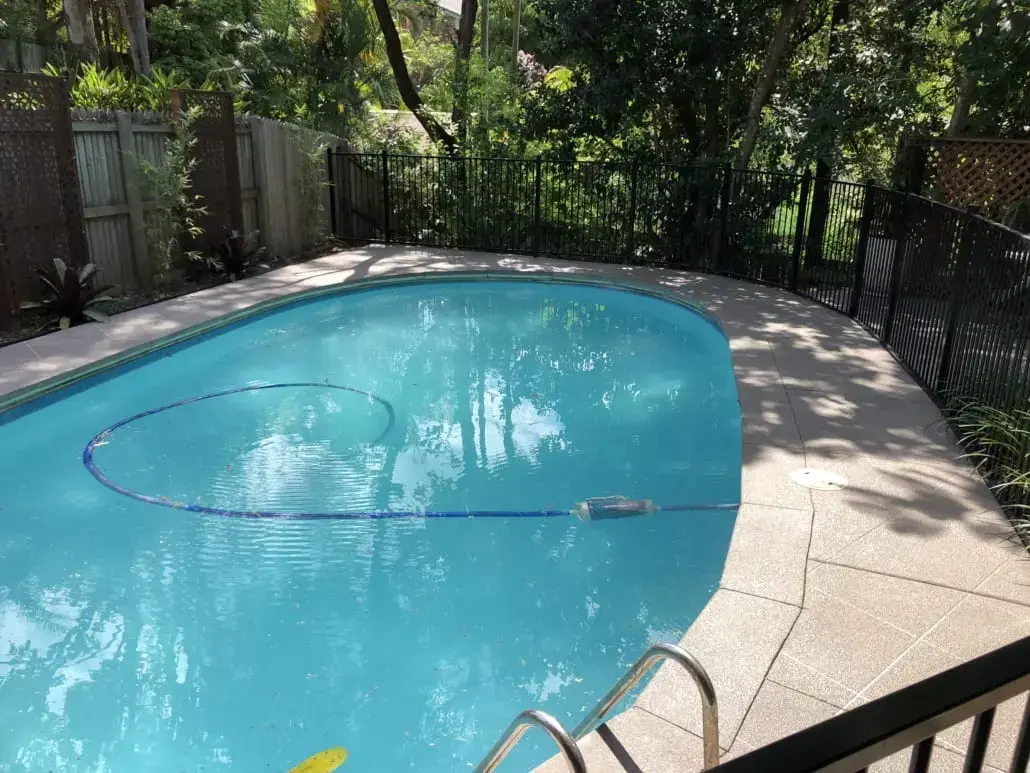
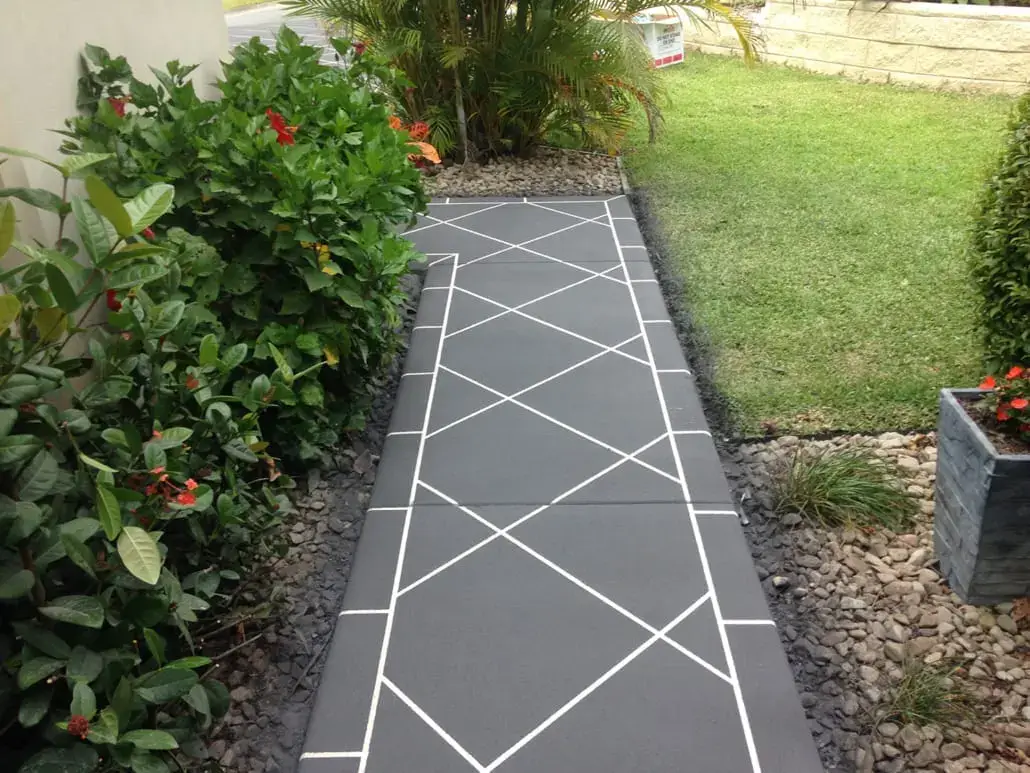
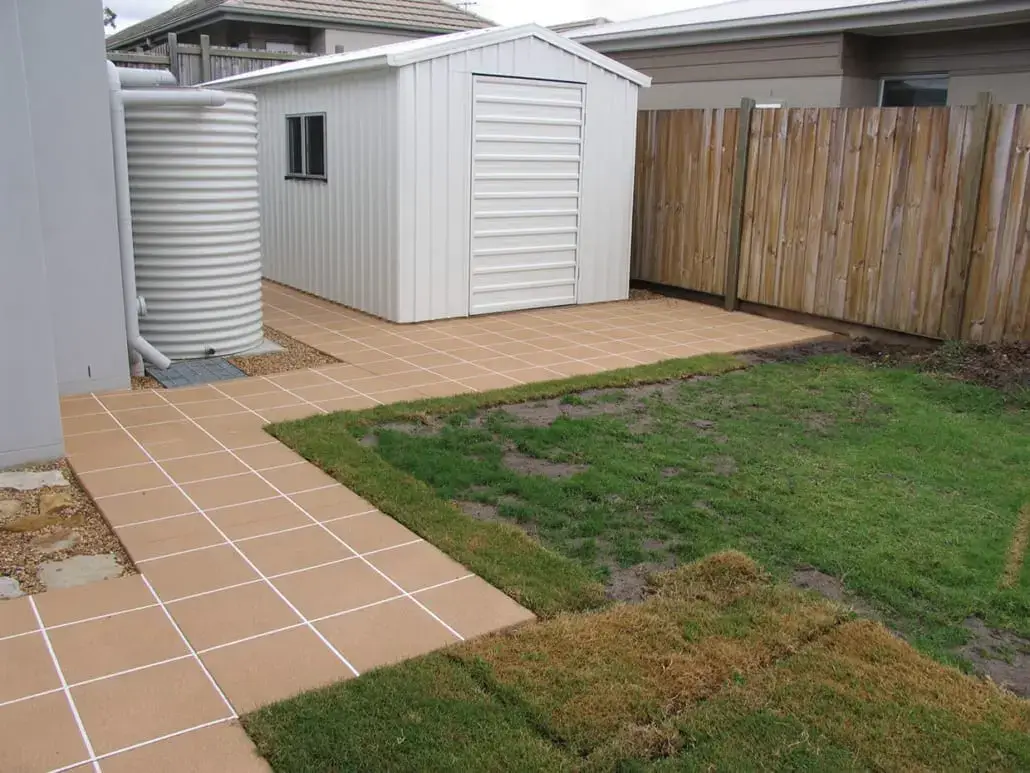
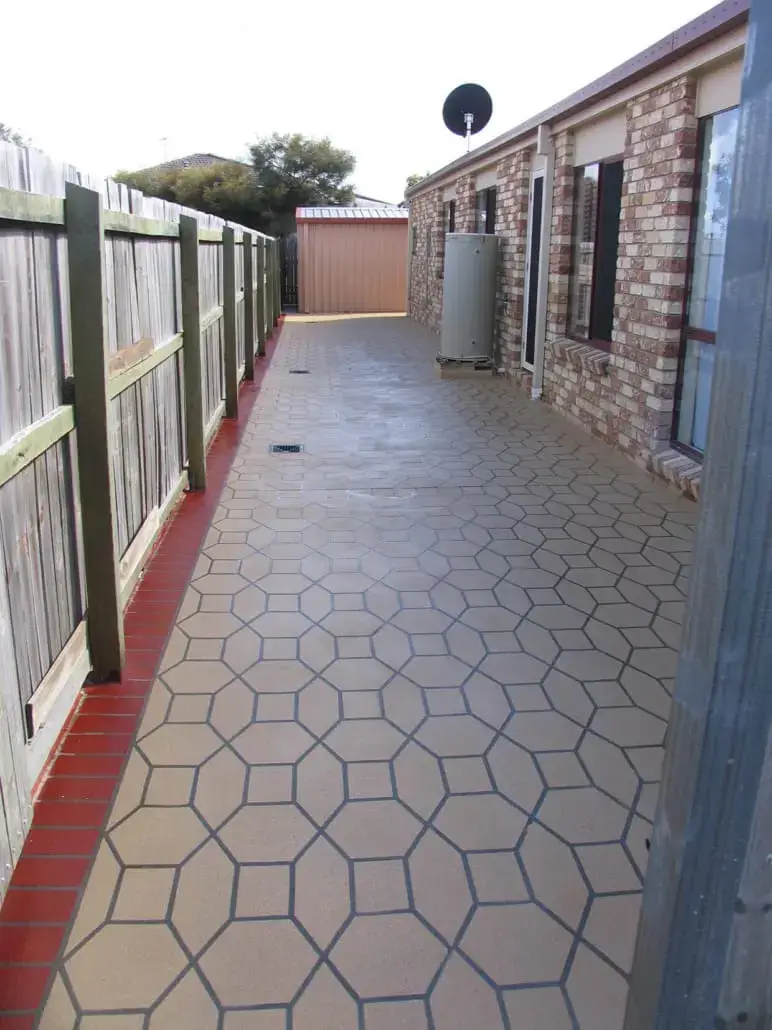
See how each finish is built
How these were specified
Send a photo of the slab.
We will tell you whether it can be resurfaced, what finish suits it, and what it costs — before anyone turns up with a grinder.